DTN Dashboard setup
The first step of setting up your DTN products is linking your accounts through the DTN dashboard. You’ll also need to fill out more information about your business. Please see this guide for setup steps.
login
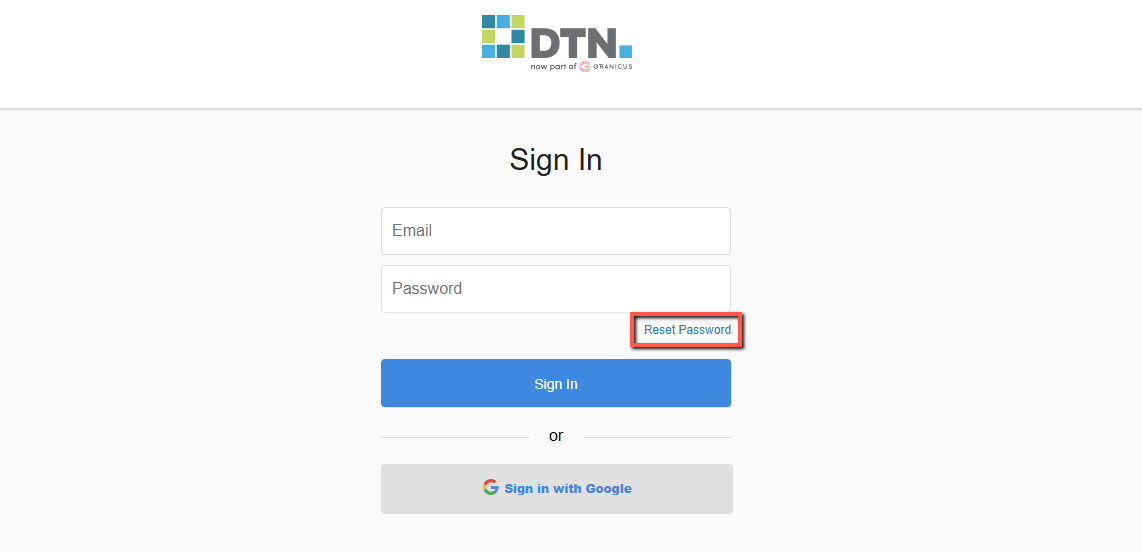
Go to dashboard.dtn.marketing to access your DTN Dashboard. We recommend that you bookmark this link so you can easily return to it later.
Next, click “Reset Password” to set your Password.
Follow the steps in the email you receive and come back to this page to login.
Connect Accounts
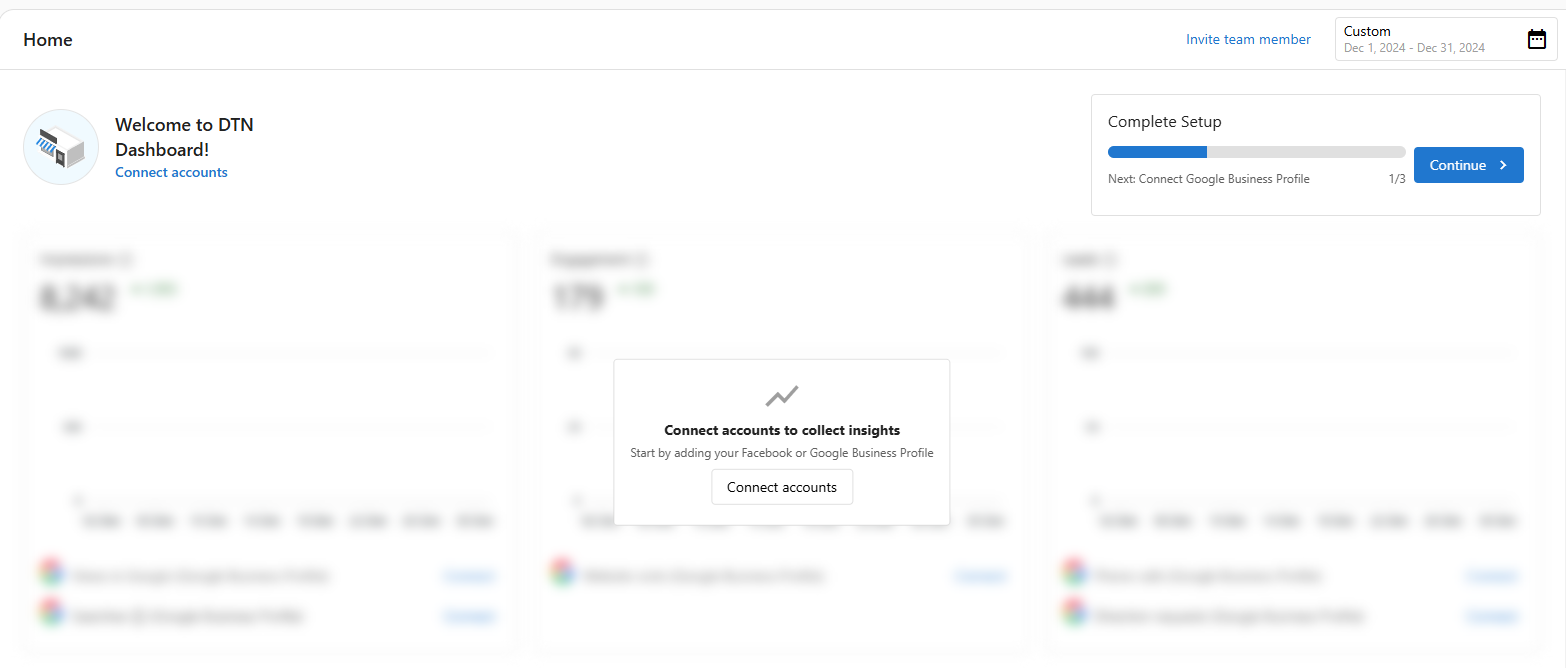
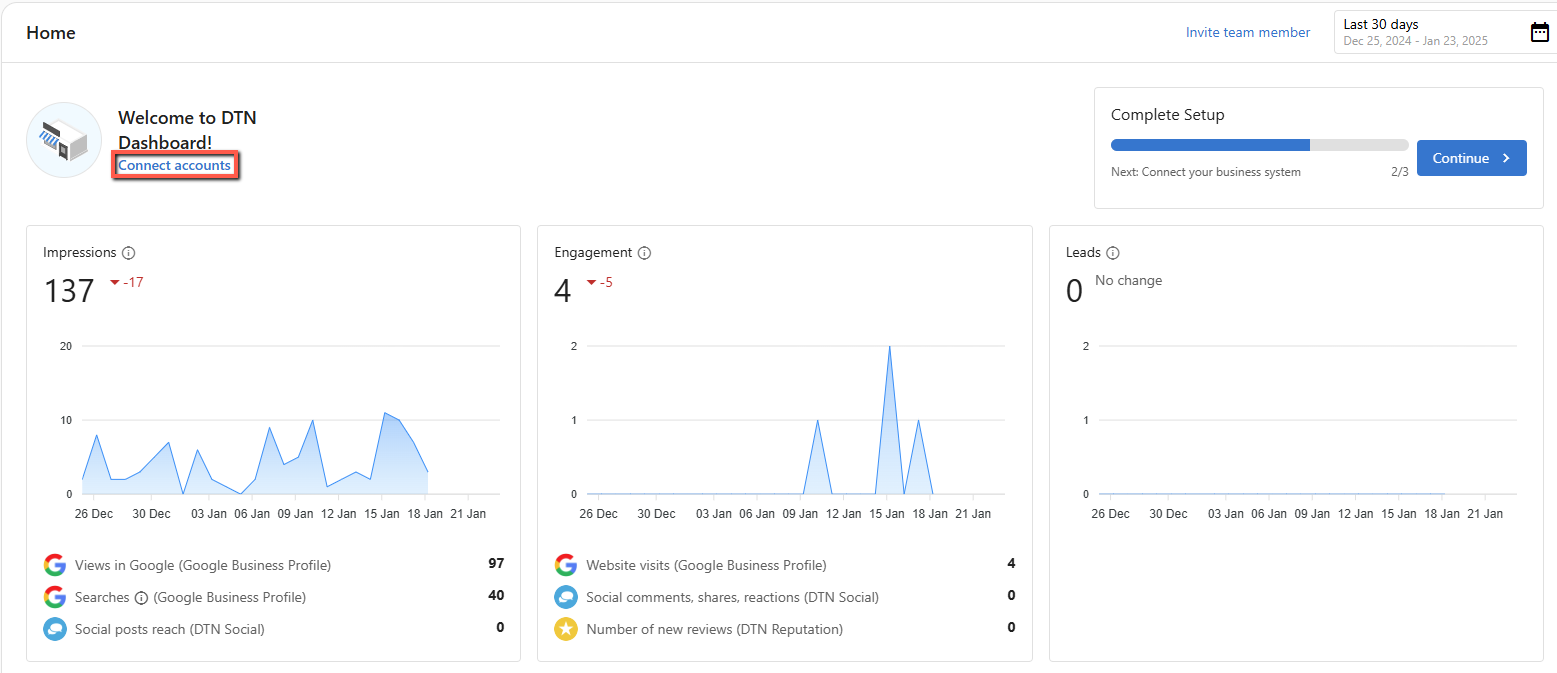
After you’ve logged in and set your password, you’ll be taken to this screen. The steps below will walk you through how to connect the most popular accounts to the DTN Dashboard. However, there are a number of account types that can be linked.
To get started, click “Connect Accounts”.
Google Business Profile
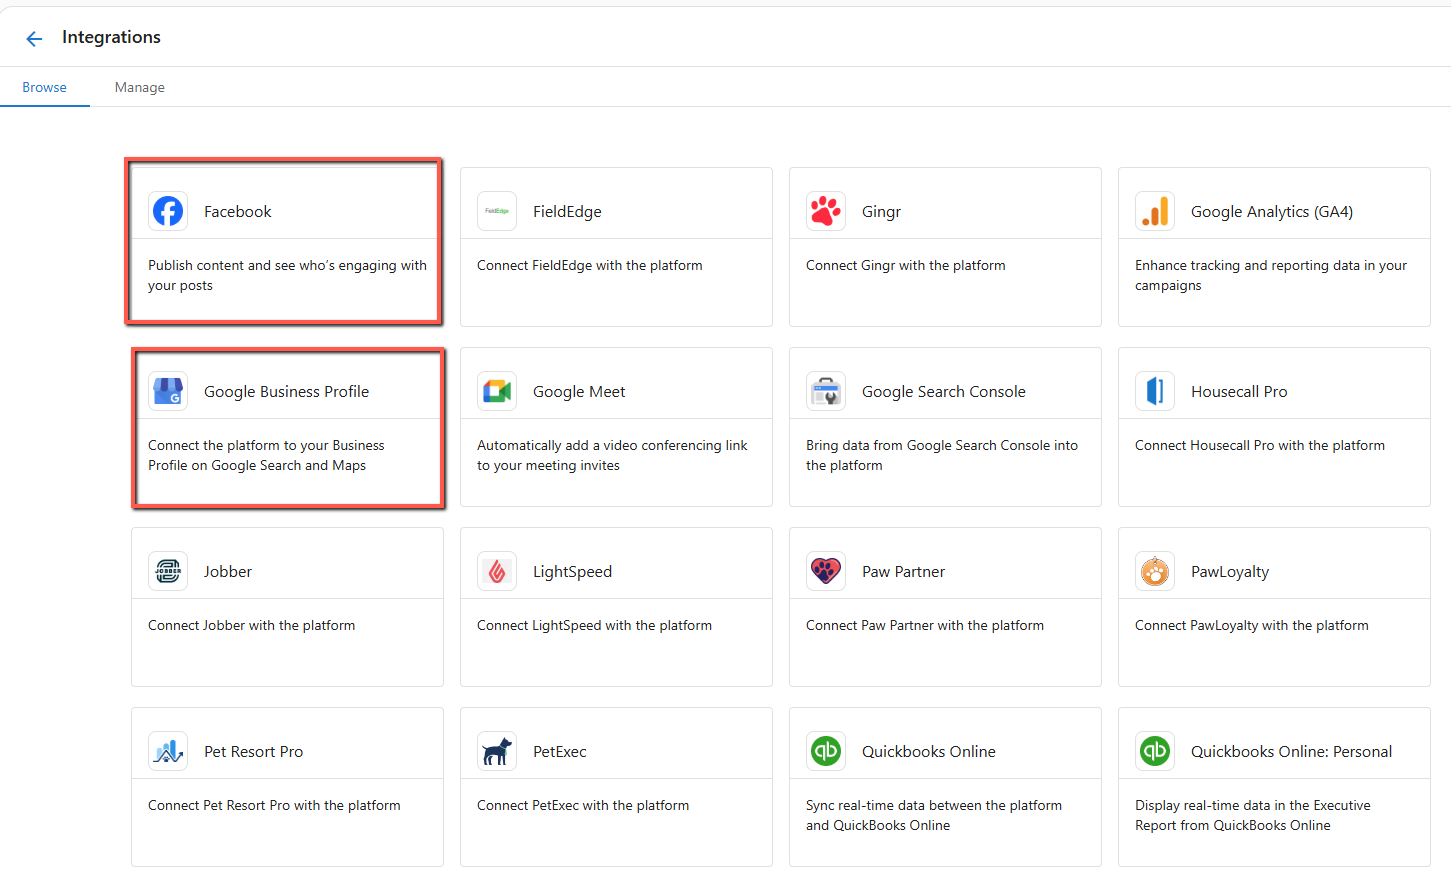
We recommend first connecting your Google Business account and your Facebook account since these are very common ways for visitors to get information about your business.
Before proceeding to the next step, you will need to login to both of your accounts in the same browser.
If you need to claim your Google Business profile or create one please see this article.
If you can’t login to your Facebook account, please try resetting your password on the login screen.
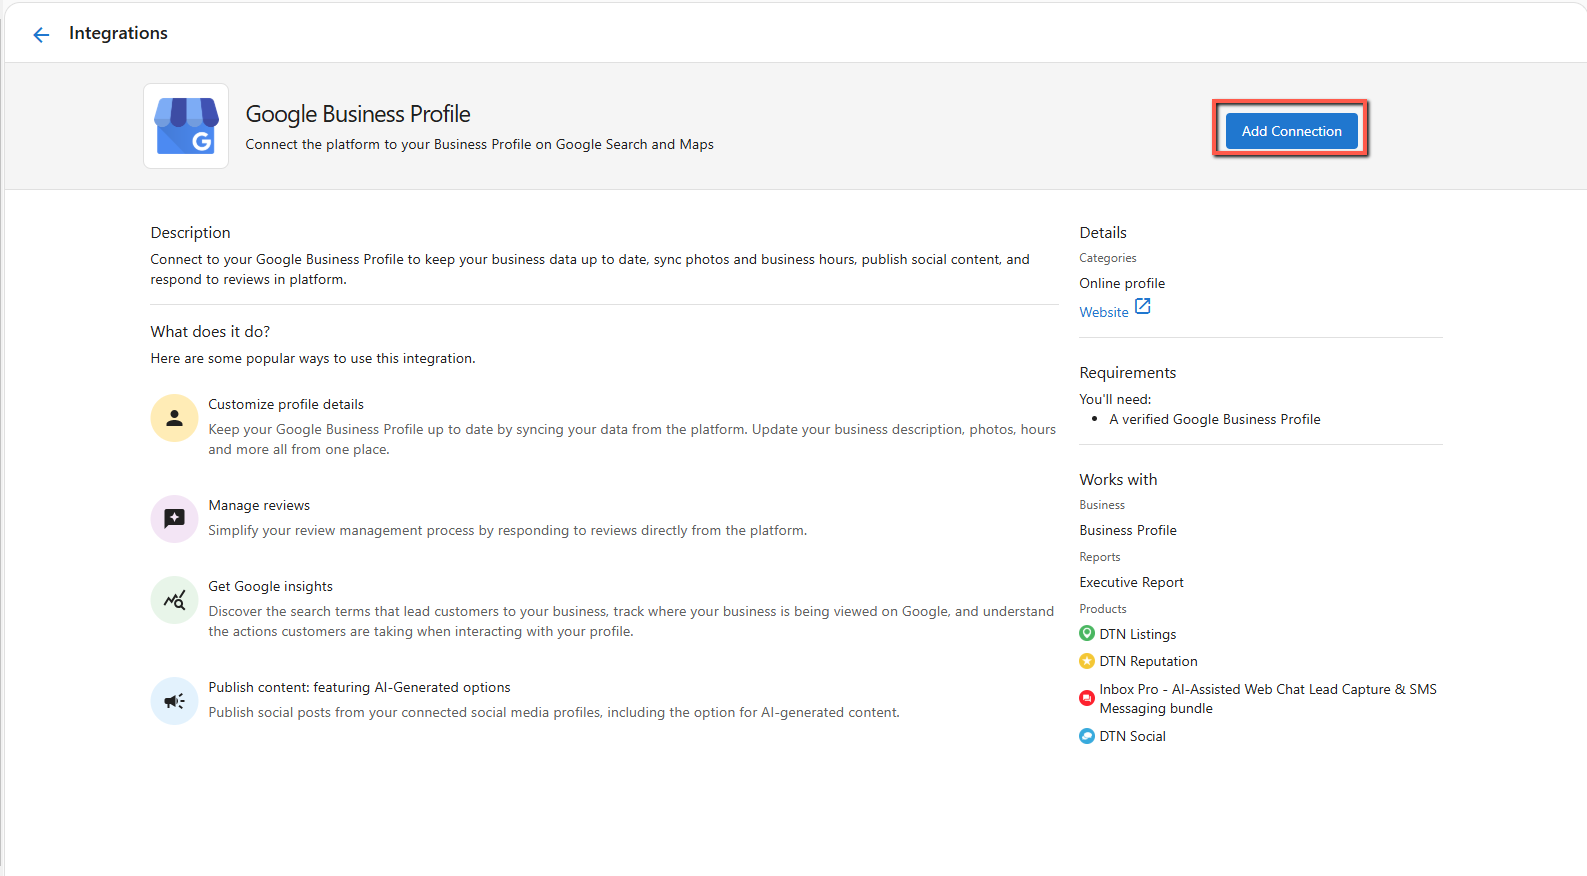
After you click the icon for Google Business, you’ll be directed to information about what products Google Business will connect to.
Click on “Add Connection” to continue. If it takes a while to load after clicking the “Add Connection” button, please check that you’re logged in to Google Business in the same browser.
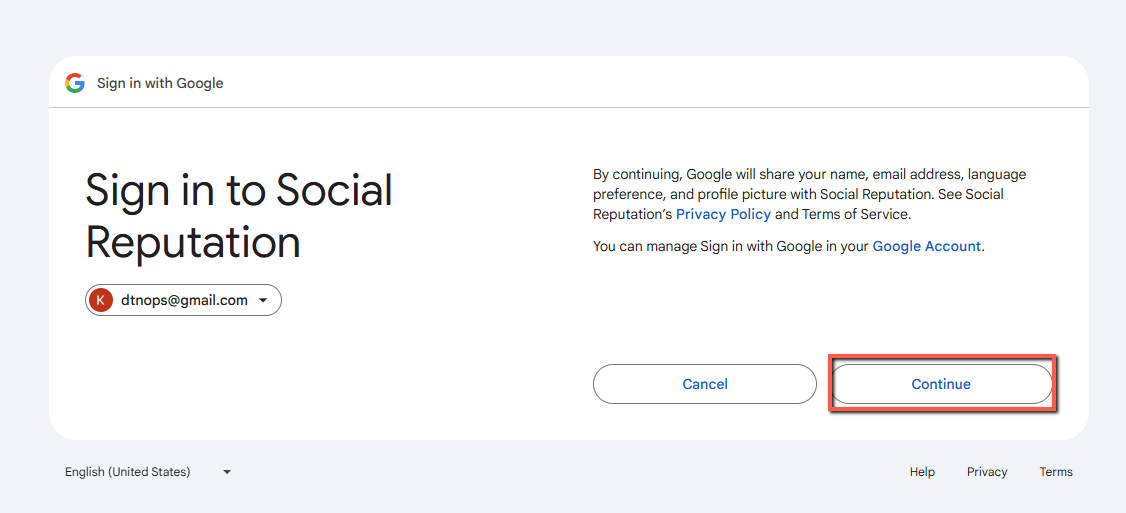
You’ll be directed to sign in to the DTN dashboard through Google. Click “continue” to move to the next step.
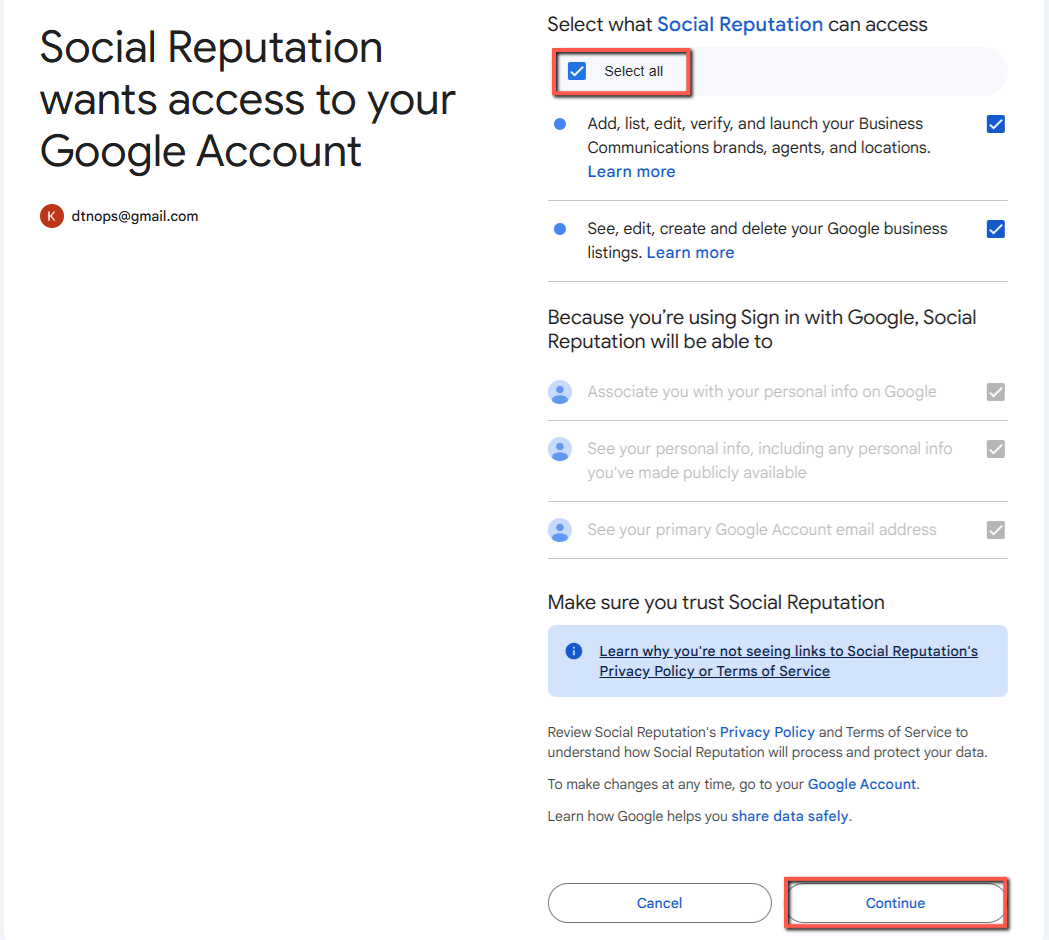
Click “Select all” to allow the DTN dashboard to make changes to your Google Business account.
Then click “Continue”.
You’ve now allowed Google to connect to the DTN dashboard. Next, select the Google Business Profile that you’d like to sync to your account.
Connect additional accounts
Next, you can link more accounts. We primarily recommend linking your Facebook account. If you don’t have one, now may be a good time to create one.
To connect more accounts go back to the home of your Dashboard and click “Connect accounts” near the top of the page.
Update your business profile
Next, you’ll want to update your business information in the DTN dashboard.
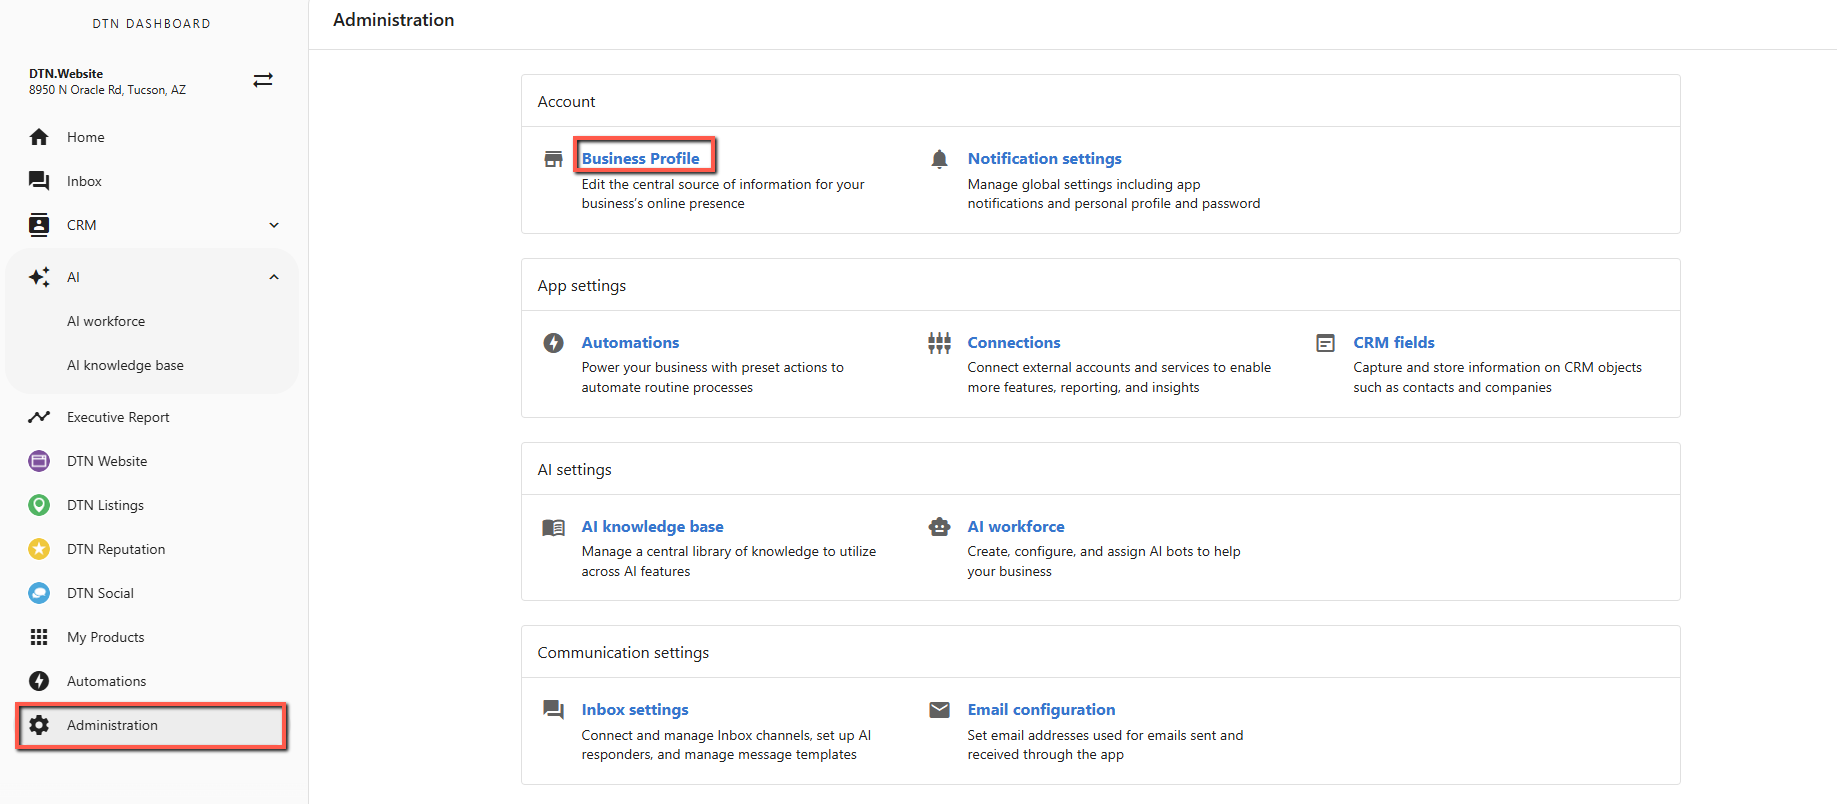
To do that, navigate to “Administration” and click on “Business profile”.
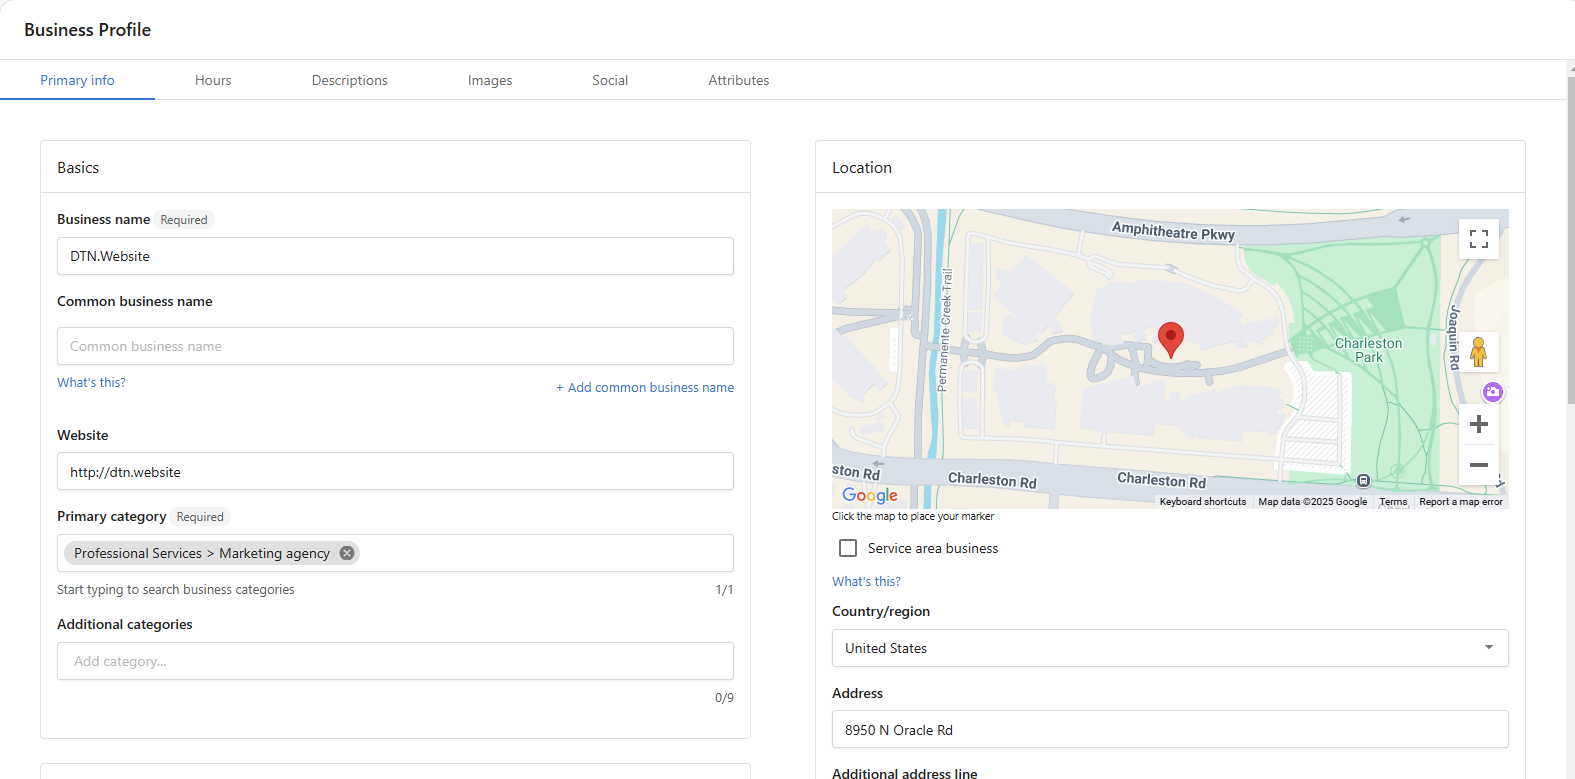
Primary info
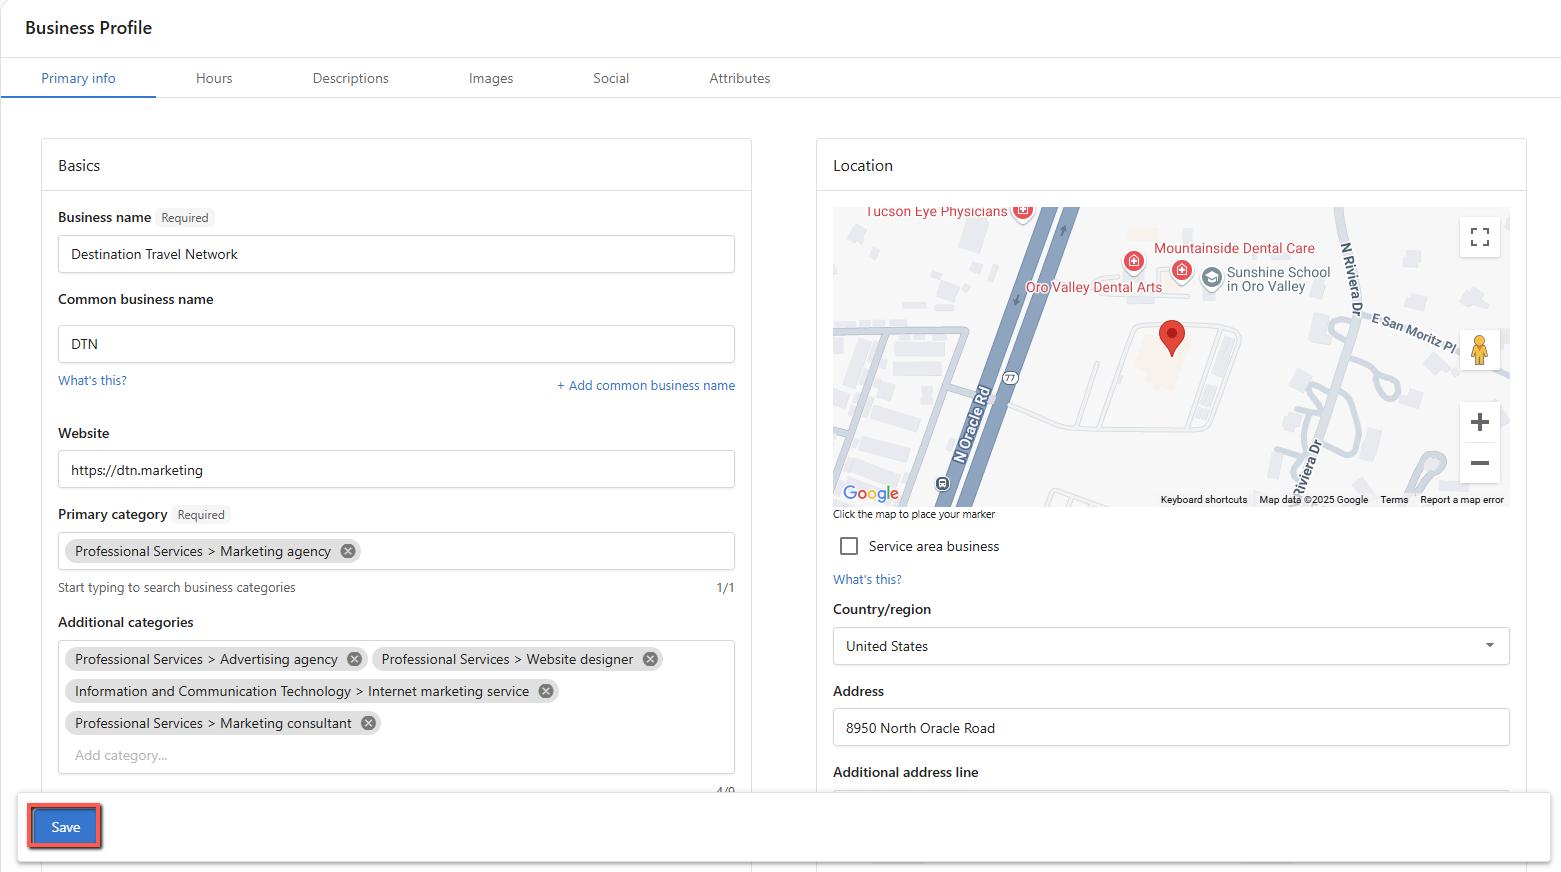
First, check that your Primary Info is correct and fill in as much information as you can about your business. This information will be synced across listings sources with DTN Listings so it’s important that this information is accurate and informative.
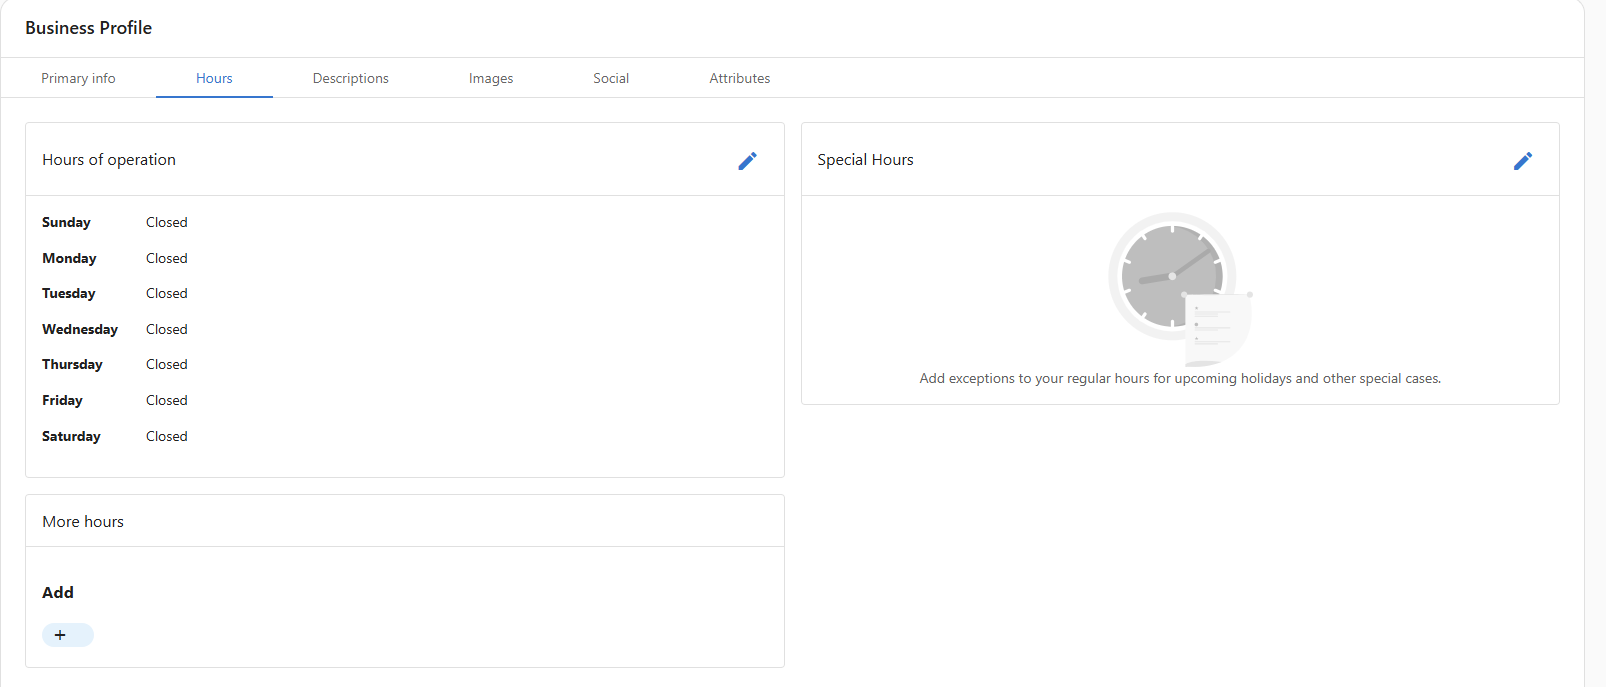
Hours
Second, go to the next tab to add the hours that your business is open.
You can also add holidays hours if your business will be closed temporarily.
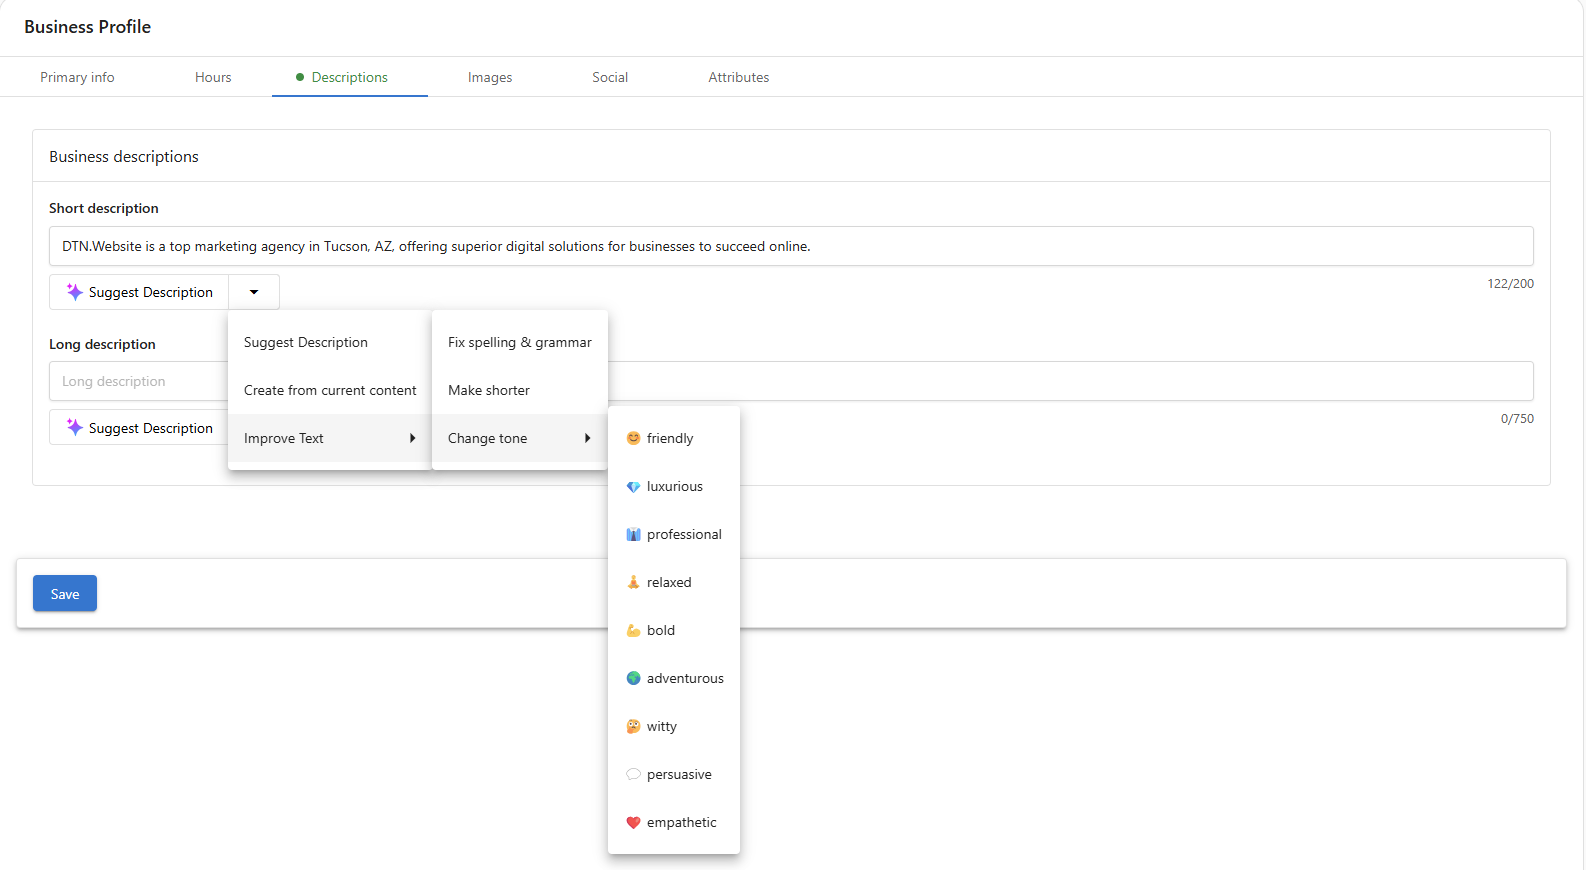
descriptions
Next, add descriptions of your business. You can use the AI tool to generate a suggested description. You can also type in information about your business and use the tool to create a description from it and then improve it.
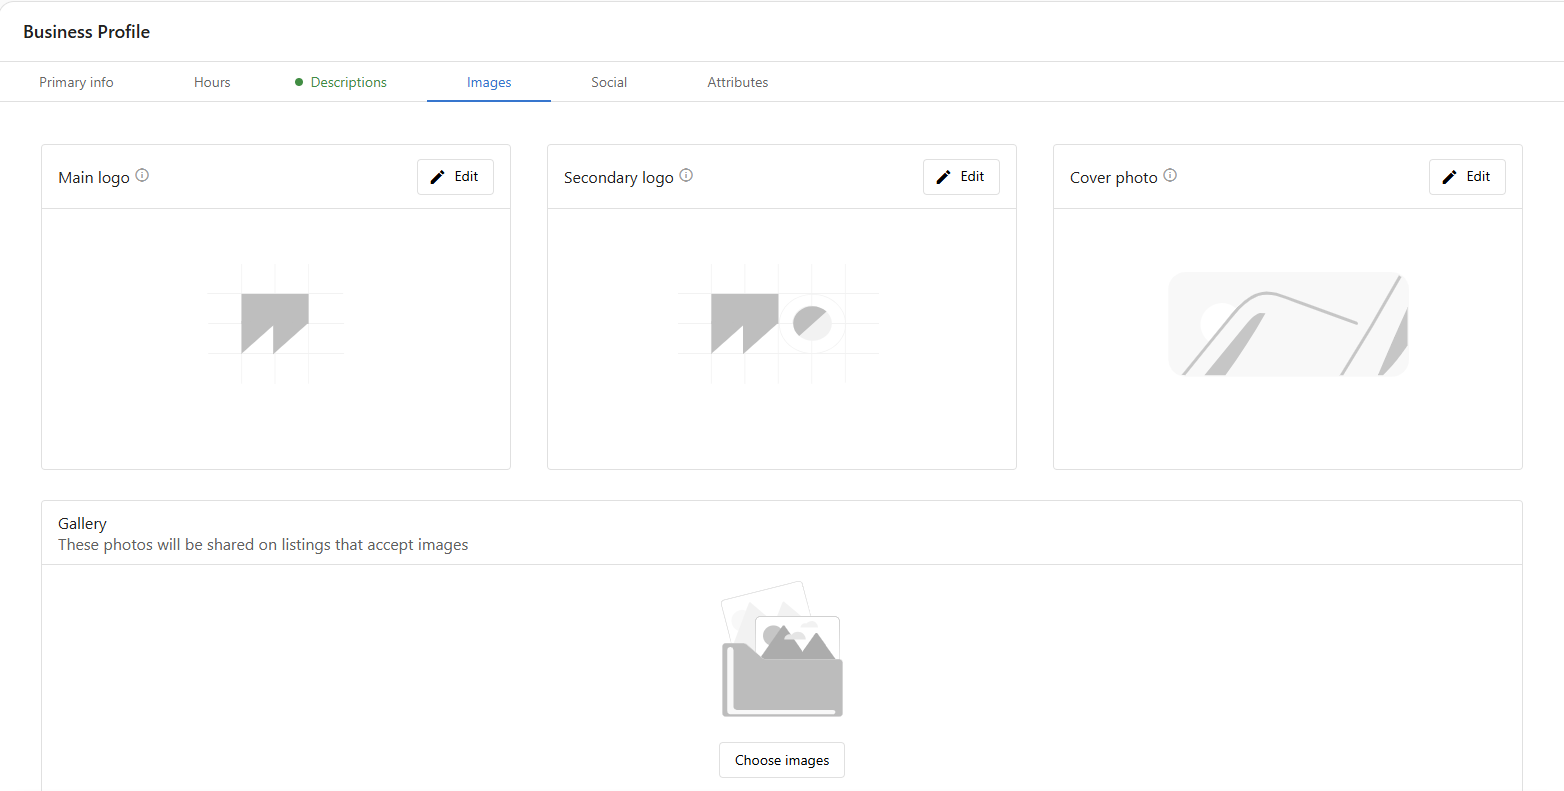
Images
Then, add images of your business. The main logo should have a 1:1 aspect ratio. The secondary logo should have a 4:3 aspect ratio. The cover photo should have a 16:9 aspect ratio. These images are used for listings across platforms.
Then, add additional images to showcase your business.
Social links
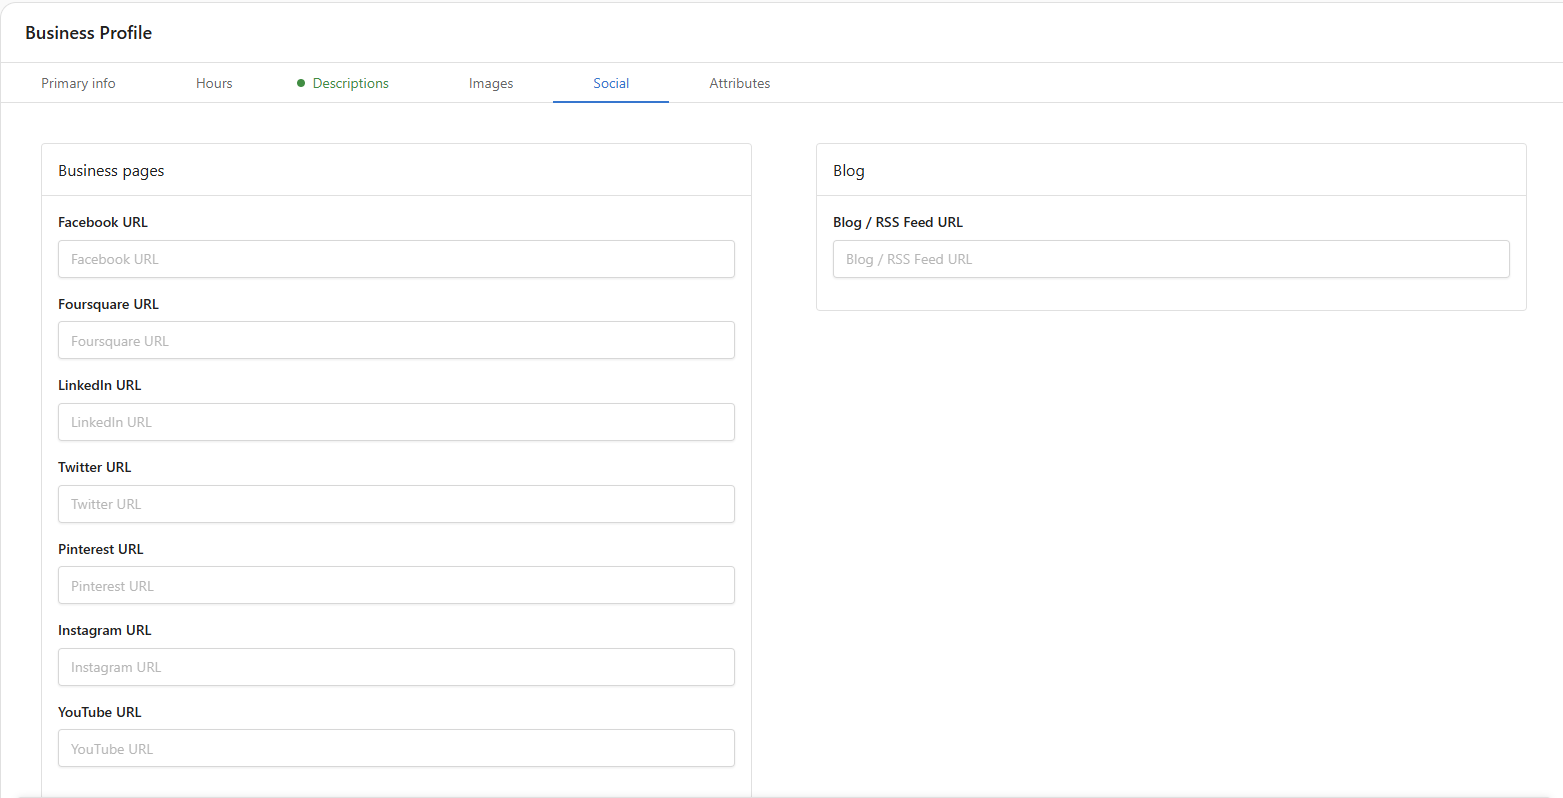
Then, add links to your social accounts. We recommend filling out as many as apply to your business.
attributes
Finally, add attributes of your business. Click in the Attributes bar to select options from the dropdown menu.
Save your changes
Once you’re happy with your changes, click “Save” at the bottom of the screen. If you have DTN Listings, some sites will update automatically with your new information within 24 hours. For others, it may take up to a week or two depending on if the site needs to approve the updates.

